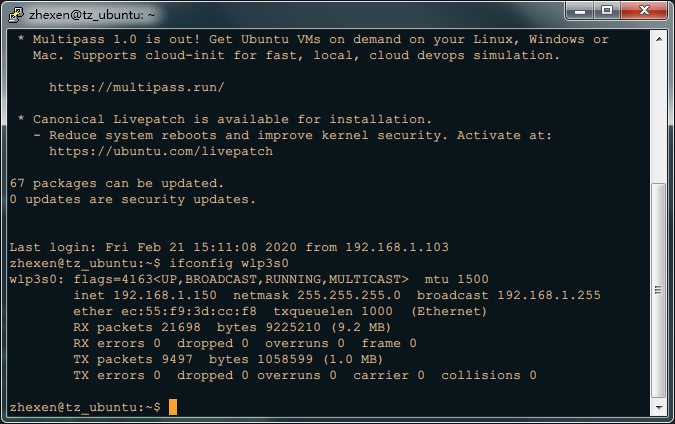
本文,也就是本系列最终章,介绍让配置文件生效的方法。
7 安装 wpasupplicant
前文 提到,渲染器/呈现器(renderer)networkd 并 不 原生支持wifi,而且 Ubuntu Linux 内核对于 WPA 加密方式的支持不是很好,所以 Ubuntu 建议安装 wpasupplicant 以支持 WPA/WPA2 等类型的路由。
安装很简单,sudo apt install wpasupplicant 就行:
1 2 3 4 5 6 7 8 9 10 11 12 13 14 15 16 17 18
| zhexen@tz_ubuntu:/etc/netplan$ sudo apt install wpasupplicant Reading package lists... Done Building dependency tree Reading state information... Done The following additional packages will be installed: libpcsclite1 Suggested packages: pcscd wpagui libengine-pkcs11-openssl The following NEW packages will be installed: libpcsclite1 wpasupplicant 0 upgraded, 2 newly installed, 0 to remove and 62 not upgraded. Need to get 976 kB of archives. After this operation, 2,825 kB of additional disk space will be used. Do you want to continue? [Y/n] y Get:1 http://cn.archive.ubuntu.com/ubuntu bionic/main amd64 libpcsclite1 amd64 1.8.23-1 [21.3 kB] Get:2 http://cn.archive.ubuntu.com/ubuntu bionic-updates/main amd64 wpasupplicant amd64 2:2.6-15ubuntu2.5 [954 kB] ... ... zhexen@tz_ubuntu:/etc/netplan$
|
8 安装 network-manager
我自己 netplan 配置使用的是 networkd 渲染器/呈现器,所以并不需要 NetworkManager。不过作为一个相对完整的体验,我们也装一下 NetworkManager。
依旧是 sudo apt install network-manager 方式:
1 2 3 4 5 6 7 8 9 10 11 12 13 14 15 16 17 18 19
| zhexen@tz_ubuntu:/etc/netplan$ sudo apt install network-manager Reading package lists... Done Building dependency tree Reading state information... Done The following additional packages will be installed: iputils-arping libbluetooth3 libgudev-1.0-0 libjansson4 libmbim-glib4 libmbim-proxy libmm-glib0 libndp0 libnm0 libqmi-glib5 libqmi-proxy libteamdctl0 modemmanager network-manager-pptp ppp pptp-linux usb-modeswitch usb-modeswitch-data Suggested packages: avahi-autoipd libteam-utils comgt wvdial The following NEW packages will be installed: iputils-arping libbluetooth3 libgudev-1.0-0 libjansson4 libmbim-glib4 libmbim-proxy libmm-glib0 libndp0 libnm0 libqmi-glib5 libqmi-proxy libteamdctl0 modemmanager network-manager network-manager-pptp ppp pptp-linux usb-modeswitch usb-modeswitch-data 0 upgraded, 19 newly installed, 0 to remove and 62 not upgraded. ... ... zhexen@tz_ubuntu:/etc/netplan$
|
9 生成配置,提交渲染器/呈现器处理
我们使用 netplan generate 命令从 yaml 文件生成特定的配置文件(Generate backend specific configuration files from /etc/netplan/*.yaml)。
1
| zhexen@tz_ubuntu:/etc/netplan$ sudo netplan generate
|
此命令无返回值。
我们使用 netplan apply 命令让配置生效(Apply current netplan config to running system)。
1
| zhexen@tz_ubuntu:/etc/netplan$ sudo netplan apply
|
此命令无返回值。
10. 重启,验证
现在所有的配置都做好了(当然还包括在路由器上将一固定IP绑定到笔记本 MAC 地址上),我们重启系统看看是否生效。

Cool,连通!
